Tuesday, January 18, 2011

Raw Fruit Crisp

Before I show you a super easy raw fruit crisp recipe, I'll share with you our coffee date at Panera Bread the other day! First, we headed to a park downtown to look around and take some pictures with the new camera lens...


However, we quickly realized that it was far too freezing to be using our hands to press buttons on the camera and instead drove ourselves to Panera to get some hot chocolate (for Jeff) and hazelnut coffee (for myself). It is much more enjoyable to be indoors than outdoors these days. I hate that.


It warmed us right up! This next recipe won't necessarily warm you up since it is not a warm fruit crisp, but it will fill you up. I found this recipe on whole foods and adapted it a bit to my liking. Do you ever feel like your body is just craving fruit? Needing fruit is more like it. I definitely eat less fruits and more breads during the winter months, and my today my body told me to EAT FRUIT. I listened.


Ingredients: (adapted from Whole Foods)
  • 1 apple, chopped
  • 1/2 cup chopped strawberries
  • 1/4 cup orange juice
  • 1/4 cup pecans, chopped
  • 1/2 cup raisins
  • 1/4 cup of raw granola
  • 1/4 teaspoon ground ginger
  • 1/4 teaspoon cinnamon
First, core and chop the apples. Next, cut your strawberries. Place the fruit in a bowl or dish and cover them with the 1/4 cup of orange juice. Toss until the fruit is completely covered with a little bit of juice. Add the rest of the toppings and you're done!


You could choose to either eat this as a snack or dessert. And if you would like to pretend that it is ice-cream as I did today, eat it with this kind of spoon...


Don't you just wish you could eat ice-cream everyday? I guess this will have to do for today. It is a close second anyway ;) You can really add any kind of nuts, fruit and/or granola to this recipe. Easily turn this into a gluten-free recipe by simply using gluten-free granola. How will you change it up to make it your perfect raw fruit crisp?
Monday, January 17, 2011

Seasoned Soft Pretzels

Last time Jeff and I traveled to NYC for the day, I talked the entire day about wanting a pretzel. I saw them on every street corner and since it was so cold outside, it seemed like the perfect thing to fill my belly and warm me up. So, before leaving we bought one (for $4 freaking dollars, but we won't get into that now). And guess what? It was horrible! It was cold and hard and tasted like smoke. Yuck. Aren't NYC pretzels suppose to be great? So, we decided to attempt to make our own using this recipe from Joy the Baker. They turned out alright-not the best, but honestly better than the one I got in the city. I think next time we try this recipe we will use less salt, since it seemed a little overbearing.


Ingredients: (taken from Joy the Baker as stated earlier)
  • 1 tablespoon sugar
  • 1 packet of active dry yeast (2 1/2 teaspoons)
  • 3 3/4 cup all purpose flour
  • 1 large egg, lightly beaten
  • 2 teaspoons pretzel salt, grill seasoning, or cinnamon & sugar
  • 1 teaspoons baking soda to boil pretzels

First, you have to combine the yeast, sugar, and water into lukewarm water and let sit for about 5 minutes until yeast foams. The yeast MUST foam, so if it does not than your water may not be warm enough.


Whisk together 3 1/2 cups flour and 1 tablespoon table salt in a large bowl. Add yeast mixture and stir with a wooden spoon until it forms a dough. Dust work surface with 1 tablespoon flour, then turn out dough and knead, gradually dusting with just enough additional flour to make a smooth sticky dough, about 8 minutes.


Return dough to bowl and cover bowl tightly with plastic wrap, then let dough rise in a draft-free place at warm room temperature until doubled in bulk, about 45 minutes. Turn out dough onto a clean work surface and cut into 8 equal pieces. Using your palms, roll 1 piece back and forth on a clean dry work surface into a rope about 24 inches long. If dough sticks to your hands, lightly dust them with flour. Twist dough into a pretzel shape.

Transfer pretzel with your hands to an oiled baking sheet and form 7 more pretzels in same manner with remaining dough, spacing them 1 1/2 inches apart. Let pretzels stand, uncovered, about 20 minutes. Meanwhile, put oven rack in upper third of oven and preheat oven to 425°F. Bring a wide 6-quart pot of water to a boil. Once boiling, add heaping tablespoon of baking soda.

I love the cream & sugar bowls we got off of our wedding registry (Crate and Barrel).


Using both hands, carefully add 3 pretzels, 1 at a time, to boiling water and cook, turning over once with tongs, until pretzels are puffed and shape is set, about 3 minutes. Transfer parboiled pretzels to a rack to cool. Repeat with remaining 5 pretzels in 2 batches.


Finally, line baking sheet with parchment paper and oil paper, then arrange pretzels on sheet. Brush pretzels lightly with some of egg and sprinkle with pretzel salt. Bake until golden brown and lightly crusted, about 35 minutes. Cool 15 minutes, then serve warm.


We also made some cinnamon and sugar ones! Jeff made the large, "mother pretzel" as we like to refer to it as...


Still not as good at Auntie Anne's of course, but sure as heck better than NYC sidewalk pretzels ;)

Sunday, January 16, 2011

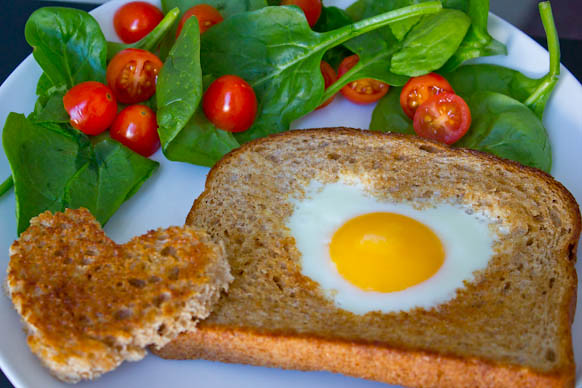
Egg-in-a-hole

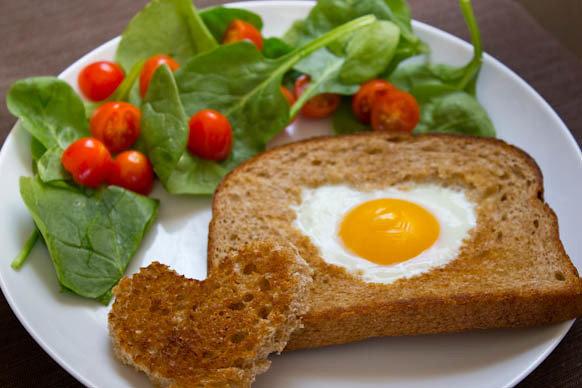
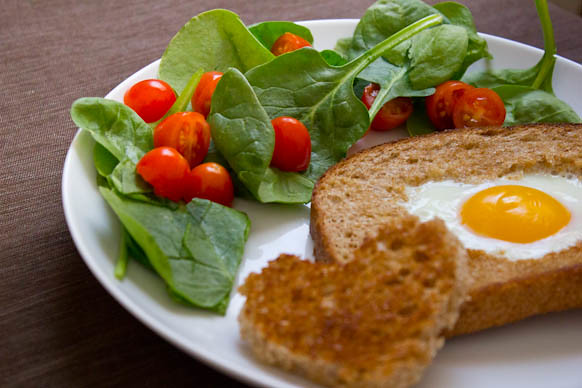
Remember the pancakes from yesterday morning? Well, now I'll share with you what else we made for breakfast in bed: an egg-in-a-hole! Except we made it into a heart, since we're in love :) Like I said before, this is a great idea for surprising anyone you love with a breakfast in bed, or for a Valentine's Day breakfast. Just throwing some ideas out there for you...


Ingredients:
  • 1 fresh egg
  • 1 piece of bread
  • butter
Cut a hole or a heart out of the middle of a piece of bread (we used whole wheat). Butter both sides of the bread and the heart cut out, and toast on the stove top until brown. Once toasted, crack the egg into the hole and heat for about 5 minutes on LOW heat. Be sure to put it on low so that the egg whites cook slowly.


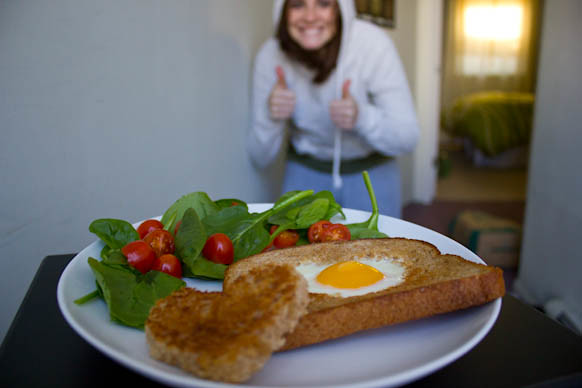
Since I only eat my eggs scrambled, I didn't enjoy this breakfast-but Jeff did and I'm sure many of you out there would as well! There is just something about runny eggs that doesn't seem right to me. But it still makes for a pretty picture! And boy did I have fun taking them in manual mode!


We had some fun taking pictures this morning. Actually short story for you: yesterday at my photography class each person in the class had to share what they enjoyed taking pictures of. We all heard lots of "nature, my kids, sports,"...and then they got to me, where I pronounced, "I enjoy taking pictures of food." I am sure people found that odd, but I find it fun! See...


In all, today was another great day. We made two somewhat large purchases (at least for us), so we will have to stick tight to our budget the rest of the month. But that is fine with me, because I came home with these boots from Aldo and this lens which I took tons of pictures with today! Can't wait to show you tomorrow, whoever you are :)

 
Blog Design by Edub Graphic Art and Design